News & Updates
Flatirons Solutions Acquires Scope AR to Create an AI-Powered, End-to-End Content-to-Execution Platform


How Augmented Reality is Building Artemis II

Scope AR 1 Day Challenge
Flatirons Solutions Acquires Scope AR to Create an AI-Powered, End-to-End Content-to-Execution Platform
How Augmented Reality is Building Artemis II
Scope AR 1 Day Challenge

Aerospace
Traceability & Compliance
Scope AR News
Enterprise AR
Partners
Flatirons Solutions Acquires Scope AR to Create an AI-Powered, End-to-End Content-to-Execution Platform

Aerospace
Scope AR News
Enterprise AR
Partners
How Augmented Reality is Building Artemis II

General Industrial
Enterprise AR
Scope AR News
WorkLink
Training
Frontline Intelligence: The Next Evolution of Enterprise AR
General Industrial
Scope AR News
Enterprise AR
WorkLink
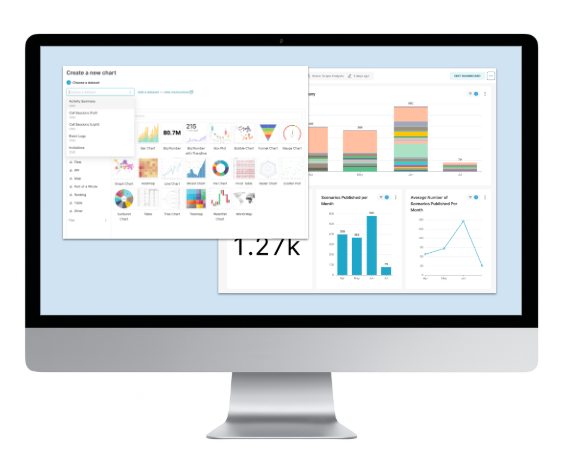
Product Announcement: Advanced Analytics

General Industrial
Scope AR News
Enterprise AR
WorkLink
Patent Granted: Scope AR Secures IP in AR Work Instructions
Aviation
Time & Resource Management
WorkLink
Enterprise AR
Scope AR News
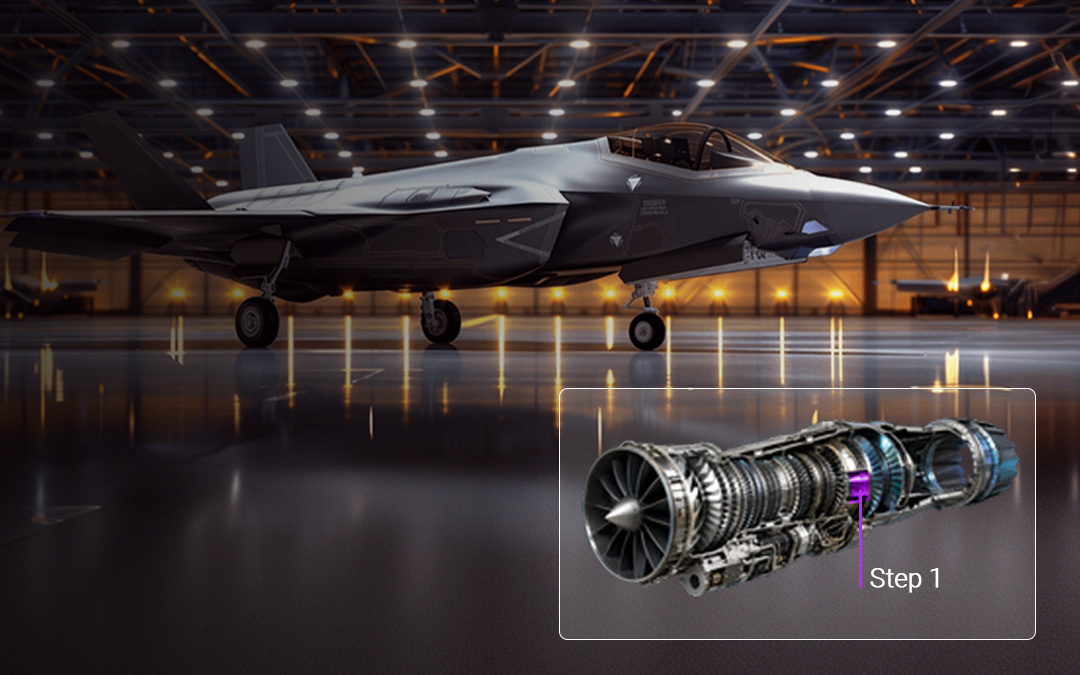
Scope AR 1 Day Challenge

Aviation
Cost Management
Enterprise AR
Scope AR News
Partners
Scope AR and FTAI showcase MRO Success at MRO Americas 2025

General Industrial
Scope AR News
Scope AR Showcases Augmented Reality’s Impact at Qualcomm’s 40th Anniversary Celebration in Washington, D.C.

Aviation
Scope AR News
Training
Scope AR Sponsors Future Aircrew Training (FAcT) Program Event, Showcasing Innovation in Aircrew Training

General Industrial
Scope AR News
Scope AR Featured in WIRED: Bridging the Skilled Labor Gap with Augmented Reality

General Industrial
Scope AR News
Scope AR Wraps Up Successful Participation at the Augmented Enterprise Summit
General Industrial
Scope AR News
WorkLink
Scope AR Highlights Future of Augmented Reality in Enterprise Productivity on Business Reporter

General Industrial
Scope AR News
Scope AR Unveils Enhanced UI Editor for WorkLink Create, Empowering Users with Greater Control and Customization

Aviation
Scope AR News
Webinar: Future Proofing MRO: A Case Study
We've seen countless applications of AR in the enterprise.
How can we help?
Download Case StudyContact Us© 2024 Scope AR. All rights reserved.
© 2024 Scope AR. All rights reserved.
.png)
